 Most pet owners avoid trimming their dog’s nails because of fear of hurting the dog. This is understandable, but trimming the nails are necessary to prevent pain from hitting the hard floor.
If your dog runs freely for miles in the town, then it may not be necessary to trim the nails. In a big city, pets may not get enough exercise to keep the nails trimmed.
This article will highlight simple steps for trimming your dog’s nails that are overgrown.
See also:
Contents
Start by easing the pet into it
Most dogs don’t like nail trims as it can be quite uncomfortable for them. If your pet is one such dog, you need to ease him into it. Starting the process while the pet is a puppy is far easier. You can ease the pup into it by petting the pup, rubbing his feet, while putting pressure on his toes.
Allow the pup to play with the nail clippers while lying down on the floor. You should open and close the device to help the pet get accustomed to the sound that it makes while it is being used. After that, clip a nail tip off. Do this as you praise the pup and share treats for him. This way, the pup will not develop the fear of clipper so early.
If the pet is already an adult dog, you can still ease him into it. It is true that is it difficult to teach an old dog new tricks, but it isn’t impossible. However, you may need to spend more time to teach them. You need to be tactful as well as patient during the process.
Adult dogs may be terrified at the sound of the grinder because of the loud noise they make during use. Also, if they had a bad previous experience, they could react badly to it.
You need to desensitize your older pet. As stated earlier, you should be patient with your dog. Do not try to rush the process. Take note of the pet’s response to the training process. Be sure to repeat any steps that are not practiced smoothly.
1st step
Help the pet to get accustomed to seeing and hearing sounds from dog nail grinders or nail clippers. It is the best way to resolve any fear of grinders which could be linked to a bad experience or just a new experience. Start by calling the dog and picking up the grinders as he comes in. look and act happy as you take the grinders in your hand.
Then give the pet a treat to take his mind off the process. Continue with this step for a few weeks. With time, the pet would begin to get comfortable around the clippers. Trimming time may become associated with treats and praises. When this happens, the dog will always be excited to see clippers. After achieving this, it is time to go to the next step.
2nd step
Train the pet to allow paw handling. Do this by waiting until your dog is relaxed and then touching her lightly on the shoulder. From there, work your way to her paw. As you do this, speak to her in a soothing voice. This keeps her calm while you rub her paws gently.
From there, concentrate on her paws. Squeeze each softly and then apply some pressure to the nail. Where the pet pulls back or become afraid, halt the process. You can try to initiate it again after the dog calms down.
[box_text icon=”arrow-box” box-text-color=”orange” text=”Remember that you can use treats as rewards, but this should not take the place of verbal praises. If the dog still retracts his paw, then hold onto both paws and don’t scold the pet. Try to do this more than three times a day.”]
After finishing this step, you have to return to the clippers exercise. Allow the pet to get used to the clipper’s sound while doing the first step simultaneously. Open the clippers and close it while talking to the dog. Continue to offer treats at this stage as well. If the dog reacts well to the sound of the clippers then, you can move to the next step.
3rd step
Start paw handling with nail clippers. This step helps prepare the pet to tolerate clippers touching him during trimming. Just as you did in the previous step, sit close to your dog, preferably on the floor to help him relax.
Handle his paw with one hand while opening and closing the clippers with the other hand. Place the paw on the floor after that and repeat the process. As you repeat it, move the clippers closer to the dog each time. When the clippers are close to the pet, if he stays relaxed, use the clippers to touch one toe as you soothe him with your voice.
You can add a treat during this time to smoothen the process. If the dog is unfazed or relaxed, continue touching all the toes with the nail clippers. You can stop if he retracts his foot or becomes anxious. Take a short break and wait for a while before starting the process all over again.
4th step
Start the nail trimming exercise. After following the other steps listed above, it is now time to start trimming the nails.
When the dog is calm, hold her paw and allow it to make a sound while touching his foot the clippers. Hold the paw gently and bring a single toe forward for trimming. Trim the nail tip gently. Do not trim all of it off so you do not expose the quick. As you trim the nails, praise him and offer treats. Try not to rush the session.
[box_text icon=”arrow-box” box-text-color=”orange” text=”It is better to divide the trimming session into three or more sessions. Give short breaks to allow the pet to rest and relax. You can trim one toenail for a few minutes and allow the dog to take breaks.”]
Other steps to follow during the trimming process
Sharpen your blades:
For safety reasons, you need to choose dog nail clipper with sensor and remember to sharpen the blades of your dog nail trimmer occasionally. When the blades are dull, it can prolong trimming and even cause pain to the pet. It also makes it less stressful for you.
Be patient with your pet:
Many dogs will allow you to trim their nails if you are patient with them. You also need to be persistent even if it looks like they are not catching on fast. If the pet starts to show signs of fear and anxiety despite training, take him to the vet.
If the dog trembles, drools excessively, pants, growls, or even snaps, it could be a sign of something more serious. Pushing at this time may be futile and even make matters worse.
Don’t scold your pet:
If the dog shows fear or becomes anxious despite training, don’t scold him. Punishing the pet for this will worsen the situation and this would make trimming a more stressful process. It will make the dog more afraid and it will not solve the problem.
This is why you must follow the steps above to desensitize the pet to grooming. As you do so, take note of his tolerance levels and avoid surpassing that level.
Practice often:
If your dog hates nail trimming, practice the sessions often with lots of treats. In no time, the pet will get used to it. You can opt for peanut butter, or other super yummy dog treats on a plate. This will keep the pet distracted while you trim.
Only trim the top:
You need to be careful while trimming. If you cut too much nail, it could cause bleeding for your pet. This is very painful for the dog and will worsen his trimming experience.
As you trim the nails, search for a hollow area which is often found at the tip. If you see a hollow area, trim the portion off. After this, look at the bottom of the dog’s nail, if you see a gummy substance that appears gray, it is the quick.
You should never trim the nail quick, only trim off the hollow part. It pushes the quick back into the paw.
Create a routine:
To help ease your pet into the process, you need a strict routine. First, determine how long it takes the nails to grow back after they are trimmed. This would determine how long you need to wait for the next trimming.
[box_text icon=”question-box” box-text-color=”green” text=”Some dogs need to be clipped weekly, while others thrice monthly. It gives the quick enough time to move back into the paw.”]
When the nails are well trimmed and at a perfect length, start trimming the nails every week. When you don’t follow the routine, the nails will start to touch the ground since dog nails grow faster than usual.
Make it interesting:
This is the most important guideline to follow for trimming. Trimming should be seen as a punishment for the dog, but as a way to bond and have fun. This makes it easier, and faster. Give the pet lots of treats before starting and after you finish trimming.
Following these steps will help make trimming easier and less stressful for you and your pet.
Read more: 10 Best Dog Clipper Reviews
 How To Wean a Puppy – Puppy Weaning Made Easy
 Ultimate Guide to Take Care of An 8 Week Old Puppy
 What to Do if Your Dog is Pregnant [Step By Step]
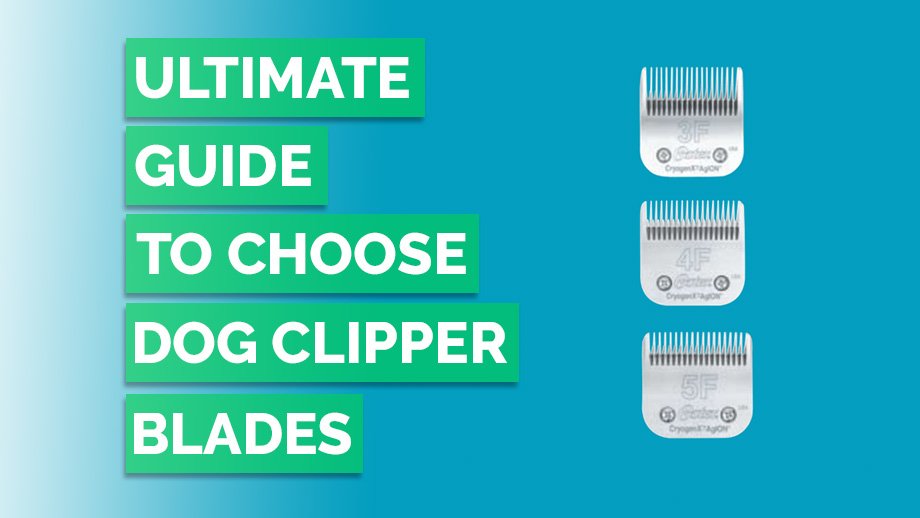 Ultimate Guide to Choose Dog Clipper Blades
 Getting a puppy at 6 weeks – Raising & care
Leave a Reply